.svg)
This feature is only available for Super Admins. If you have regular admin status (seen in the top right hand corner of the screen under your name), please reach out to your administrator, or email help@civicchamps.com for assistance.
To create a location, go to Setup-> Locations.
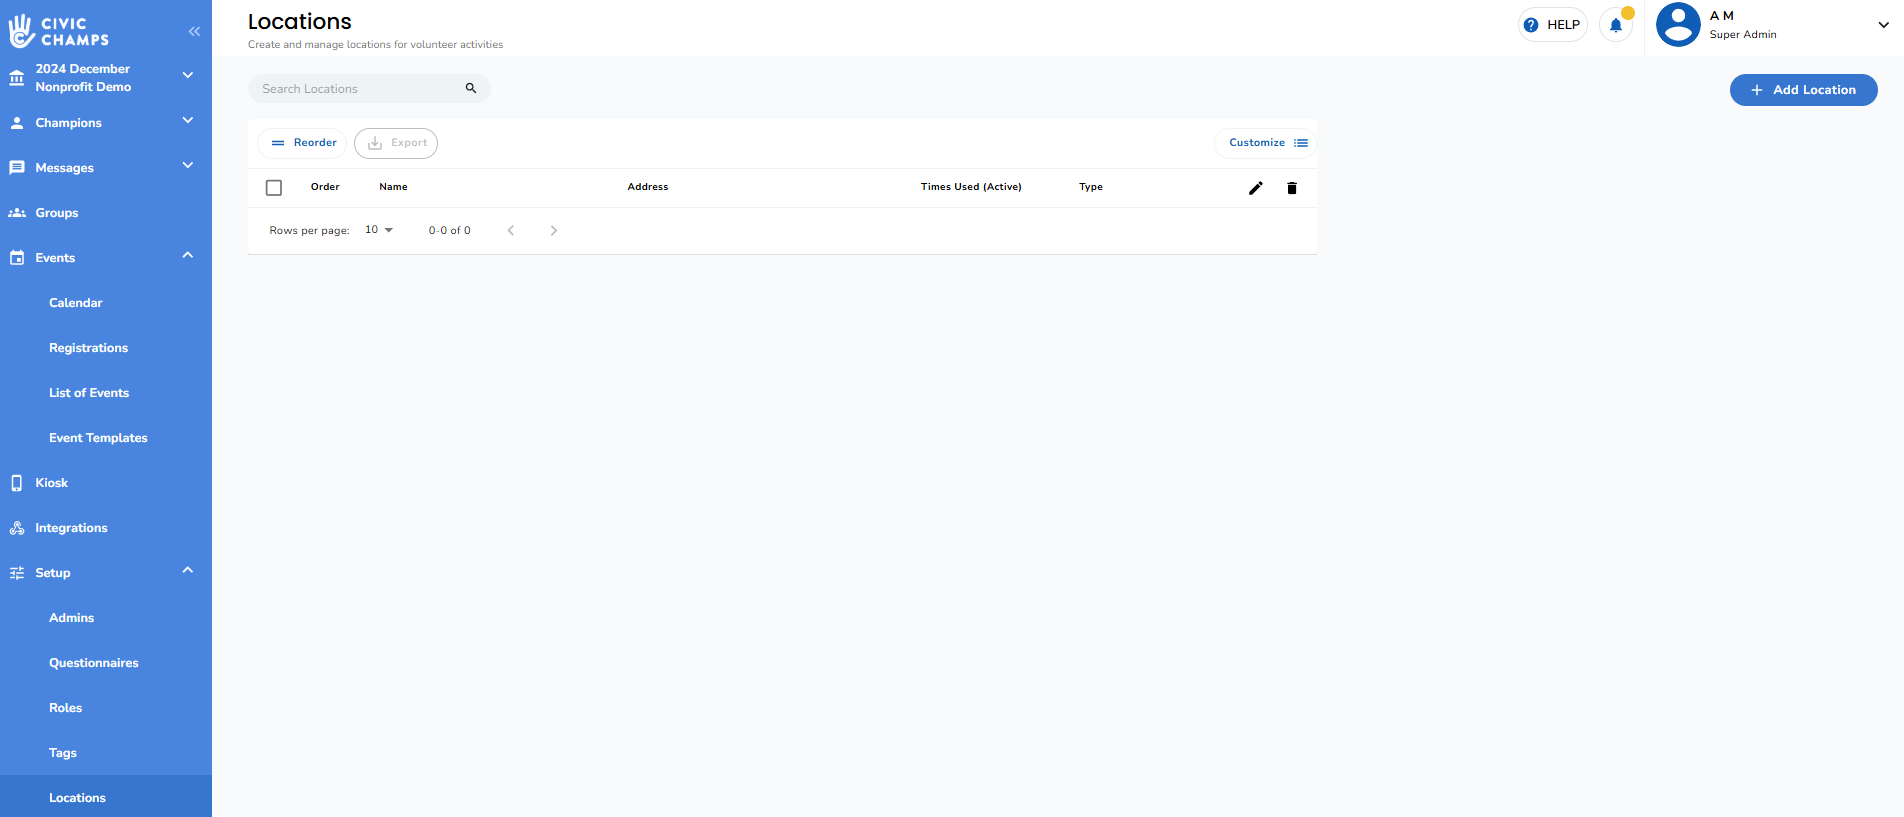
Next, select "Add Location" in the upper right hand corner.

Step 1: Enter the google maps-compatible address
Step 2: Choose if you would like the location to be visible to check into from the mobile app.
Turning on visibility turns the location into a live geofence in the mobile app. 
Step 3: If you chose to turn on visibility, select the start date and end date for the location.
Start date is when the location becomes visible in the mobile app when a volunteer is at this location, and has their location settings turned on to "Allow while using."
End Date Is the date and time that the location closes. If you do not want it to close, you can set this for an arbitrarily long time (i.e 1/1/2040)
Step 4: Select the roles that volunteers can select when checking out of this location, and hit next.

Step 5 (Optional): Add any details that an admin may need to know about the location
Step 6: Chose who is able to check into this event.
If anyone, select VOLUNTEERS.
If this location is not public, chose "Only allow selected groups to check into this location" and designate your specific group.
Hit save, and your location is now live! 